Hand Dipped Taper Candles for Yule

Many celebrations that occur on or around Yule use candles as prominent symbols.

        Copyright © 2007 Judy Ann Nock
Many celebrations that occur on or around the winter solstice use candles as prominent symbols. The candle represents the warmth of the hearth, which is so important at this time of year. Candles have also been characterized as supporters of the sun, tiny companions giving their strength to augment the powers of the sun god who is at his weakest at this point in time.

Additionally, candles can be seen as a reflection of the beauty and wonder of the winter sky, filled with “night candles” in the form of its scintillating stars. Tapered candles, called cerei by the Romans, were traditional gifts exchanged during the Saturnalia and symbolized the eternal flame. 

Hand dipped taper candles for Yule.

Creating your own candles is a lovely way to add special magic to your winter solstice observances. The following instructions will guide you in the creation of beautiful, slender tapers, quite suitable for adorning a Yule log. You can make these candles quite easily in your own kitchen without any specialized tools, mainly just household items, many of which you may already possess. You will need these things:

   * A pound or so of beeswax
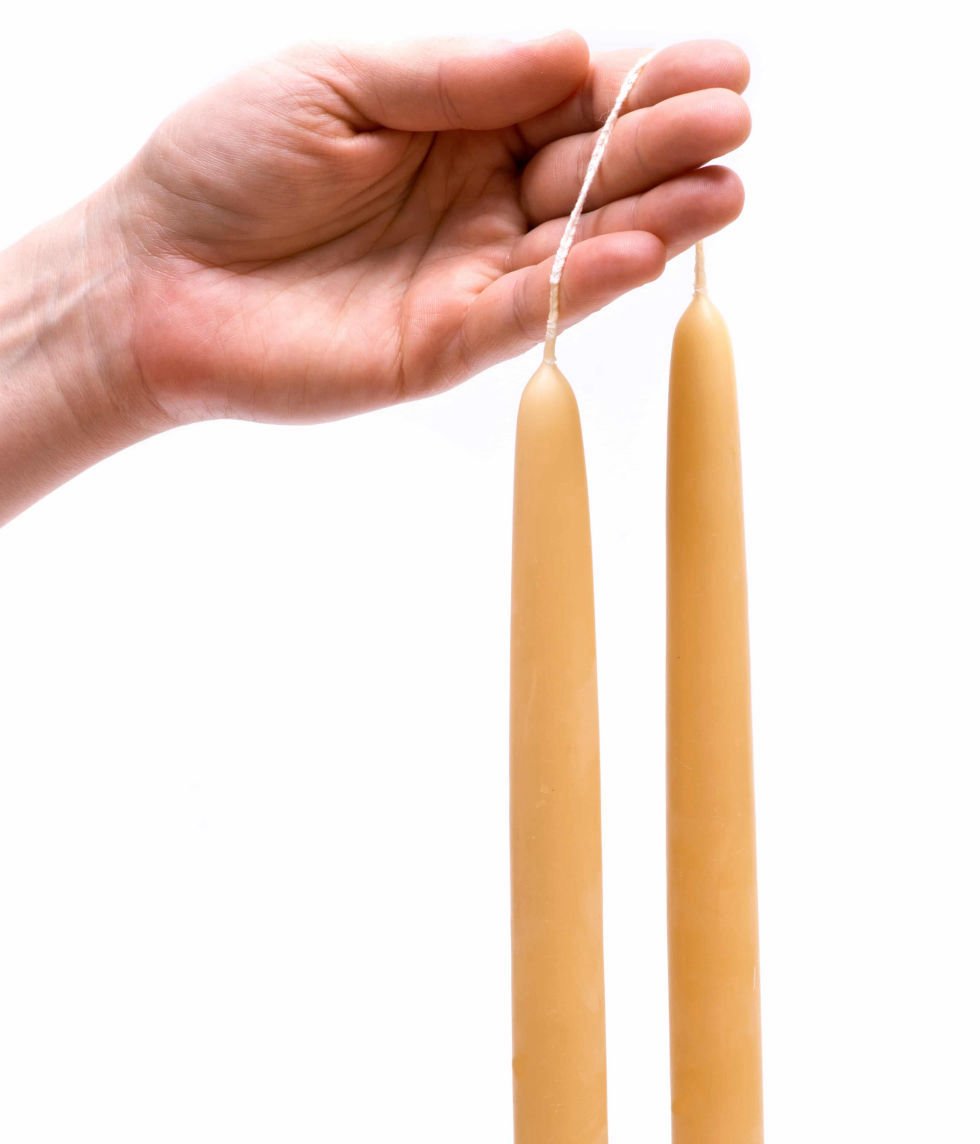
   * Cotton string
   * A double boiler, which will be henceforth dedicated to candlemaking only (after this exercise, it will be unsuitable for other uses such as cooking)
   * Small washers or nuts (the kind found in a hardware store, not a grocery store)
   * A ladle, also dedicated for candle-making henceforth
   * A dry cleaner’s hanger (wire hanger with a cardboard dowel)
   * Sharp scissors or sharp knife

Directions:

1. Cut four pieces of cotton string into 2-foot lengths. These will be the wicks of four pairs of beeswax tapers.

2. Tie a washer or nut onto the bottom of both ends of each string. These will serve as weights so your candles will be straight. Hang the weighted strings over the dry cleaner’s hanger. You can place the hanger through the handle of a kitchen cabinet, or some other location that is close by but far away enough from the stove that your candles will be able to dry and not melt.

3. Fill the bottom chamber of the double boiler with water and set it to boil on medium heat on the stove. If you do not have a double boiler, you can improvise one using a medium saucepan for the lower chamber and a clean coffee can for the wax-melting chamber.

4. When the water starts to boil, place the beeswax in the upper chamber and set it on top of the boiling water. Allow the wax to melt. Lower the temperature of the flame just enough to keep the wax in a liquid state.

5. Take one weighted string off of the hanger and hold it high over the molten wax. You can hold your index and middle finger together and drape the middle of the string over your fingers to keep the wicks separated.

6. Scoop up a ladle full of hot wax and pour it down the string, starting from about four inches from the top. The wax will cool as it travels down the wick. Excess wax will drip back into the pot. Repeat this with the other half of the string. While you pour the first coat on the second wick, the first one will be drying. Continue pouring wax down each wick, alternating as you go. Allow some time in between pouring for the previous layer to dry, otherwise the application of the molten wax will melt the layer already applied to the wick and the process will take much longer. The wax will eventually begin to build up thickness. When the base of the candle is about a quarter of an inch thick (about the width of a pencil), place the pair back on the hanger to dry thoroughly. Repeat this process with the other wicks and you will have four pairs of beautiful beeswax tapers.

If you wish, you can create thicker candles by repeating the process and building up more and more layers of wax. (To make sure you don’t run out of beeswax, try making fewer candles if you want them to be thicker.) The candles are dry when the wax is no longer pliable and is cool to the touch. Using the scissors or sharp knife, remove the bottom end of the candle that contains the weight (washer or nut) and discard it. Trim the wicks to about a quarter of an inch, and your candles are ready to use.

This and More Can Be Found Here:

 The Provenance Press Guide to the Wiccan Year: A Year Round Guide to Spells, Rituals, and Holiday Celebrations Kindle Edition by Judy Ann Nock


Capturing the essence of the major and lesser holidays, this complete and practical reference will appeal to Wiccans of all levels of experience.

Written to inspire and expand the practice as a reader moves through the eight sabbats, Nock provides the practitioner with the astrological and astronomical influences that govern the seasons, meditations that reflect timely themes, and rituals and crafts that anyone may enact in order to enhance spiritual expression.

The Provenance Press Guide to the Wiccan Year: Spells, Rituals, Holiday Celebrations by Judy Ann Nock.